I
begin Part 2 of this WIP where I left Part 1, sanding! Every part in the kit has now been cleaned and
are tumbling freely in the box. To
preserve my sanity I just needed to be done with sanding (about 2 days worth).
But,
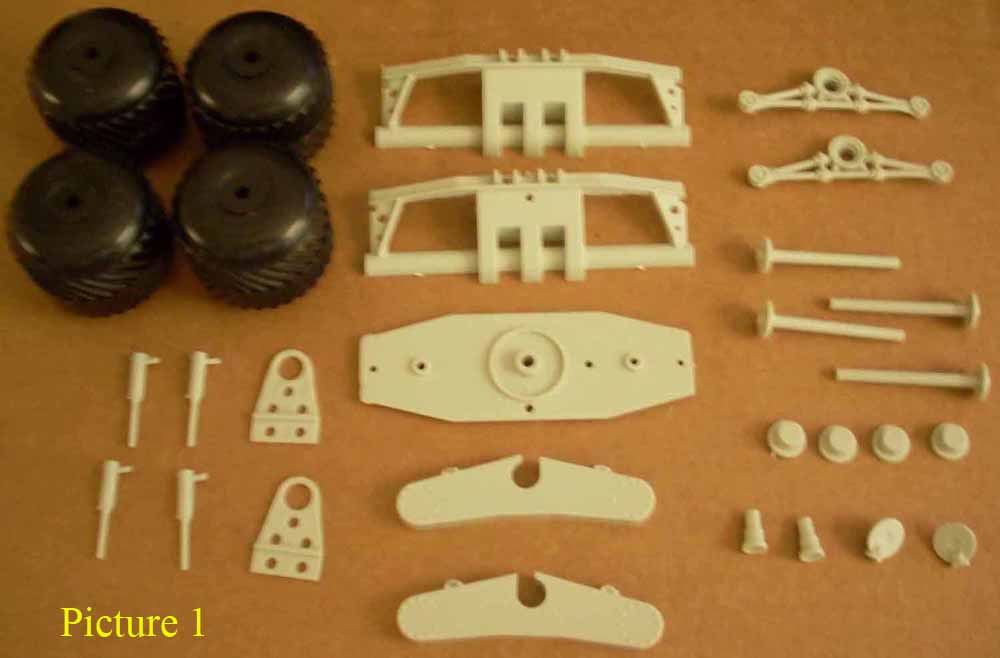
the fun in this kit began to take off when I started the building process. For example, picture 1 shows 33 parts (each
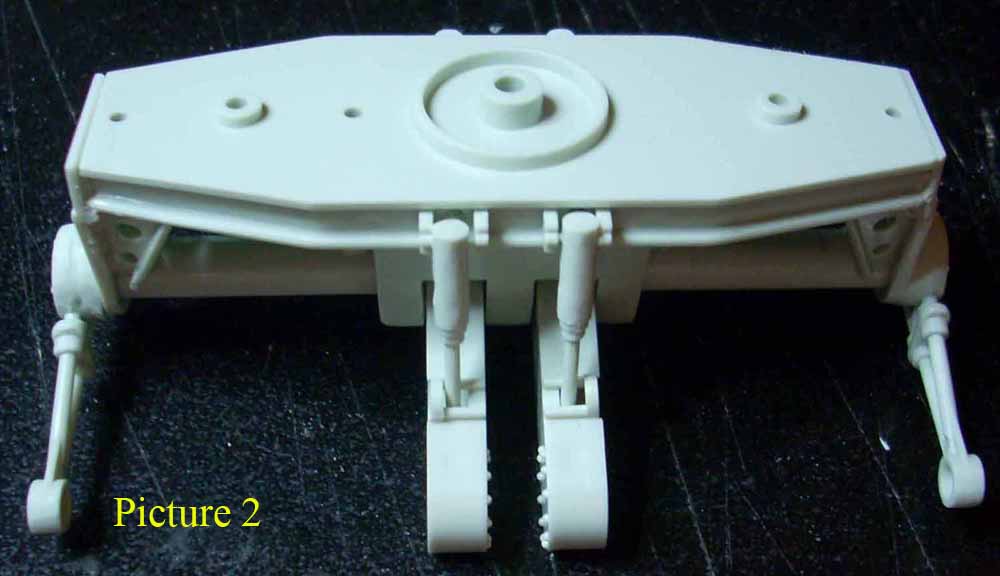
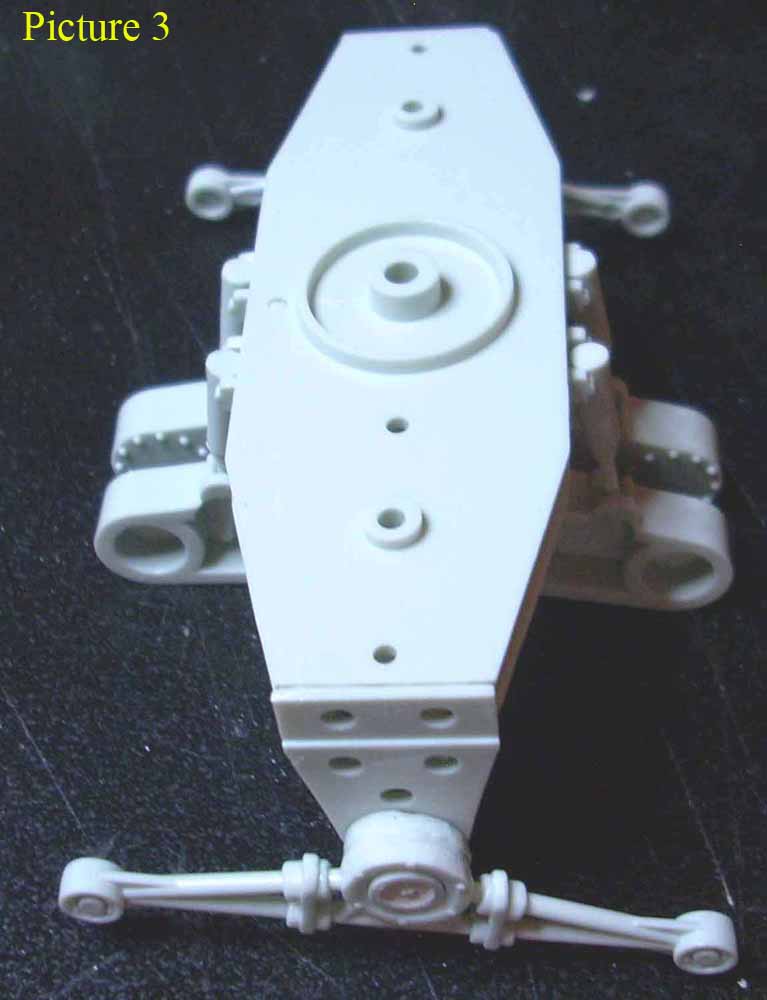
wheel is 2 halves) are required to make one complete “truck” assembly. Pictures 2 & 3 show the fragility of the
outer torsion bars. Photos of the real
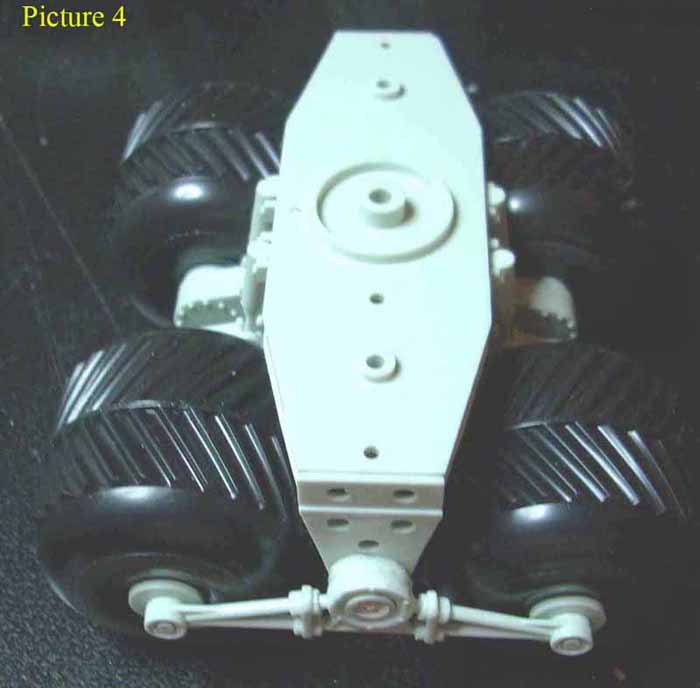
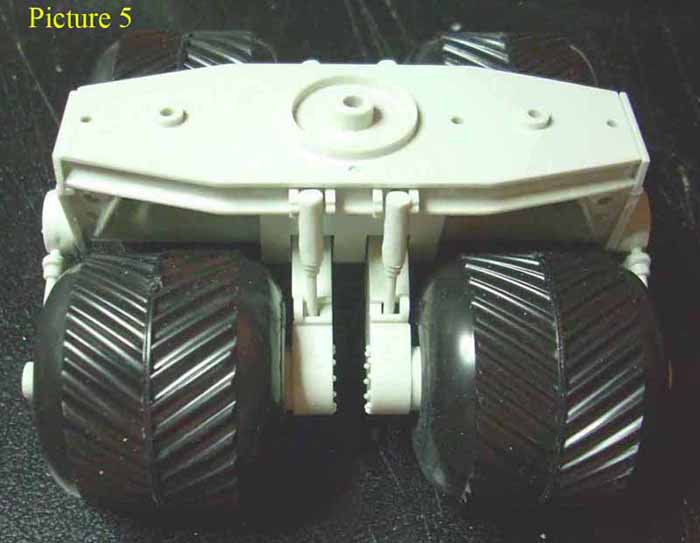
thing seem to prove they hold up under pressure. Pictures 4 & 5 are two views of the
completed “truck”. Some filling & sanding
were necessary to fill gaps, but it looks good when finished. I need to build two more “trucks” & they
will be ready for paint.
While
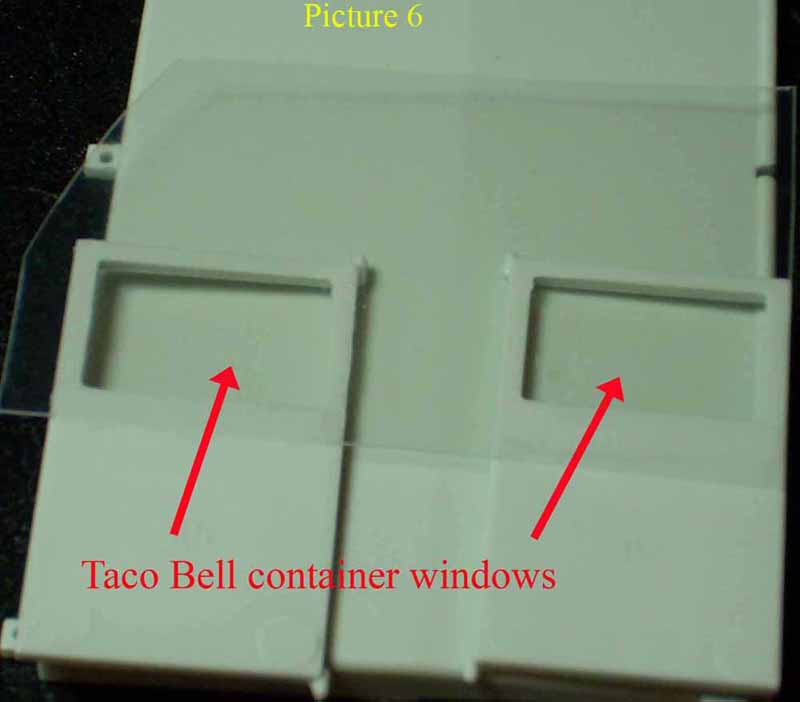
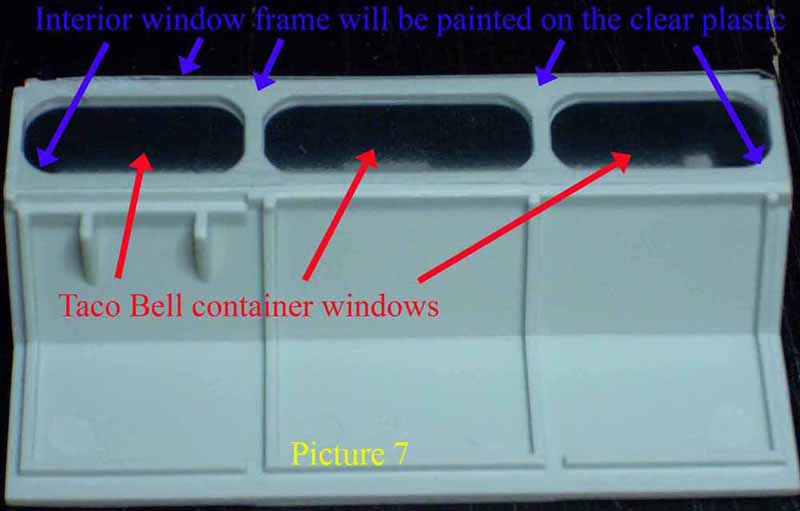
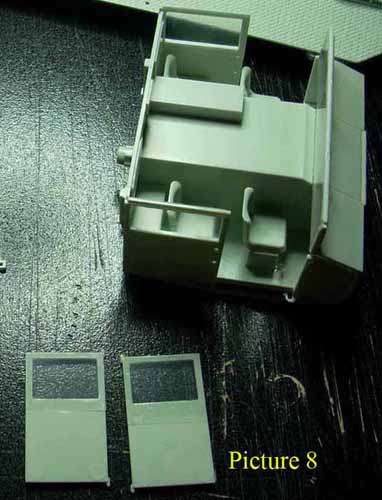
I waited for the putty to dry on the “trucks” I moved on to the cab. The kit does not come with clear parts so if
you want windows you must improvise. I
had some Taco Bell nachos for lunch one day & noticed the recycle symbol on
the clear lid was a 2. I tested it with
some plastic cement (Testors) & it worked.
The clear lid is actually slightly cloudy, but I like the way it looks
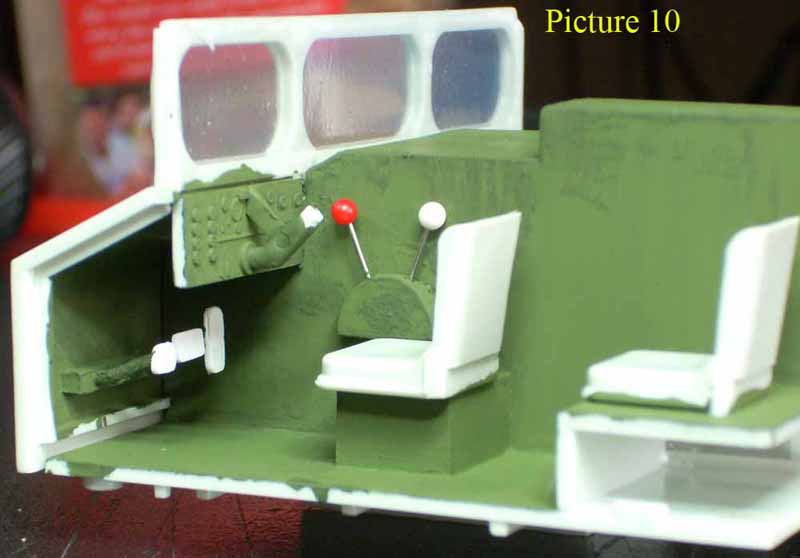
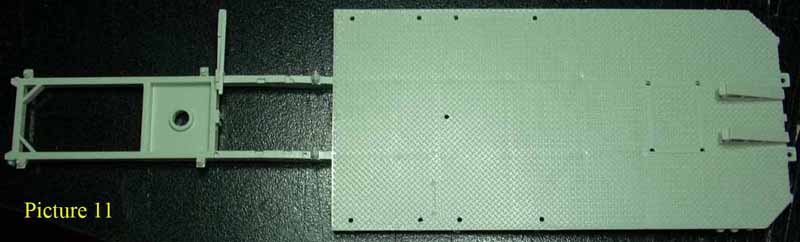
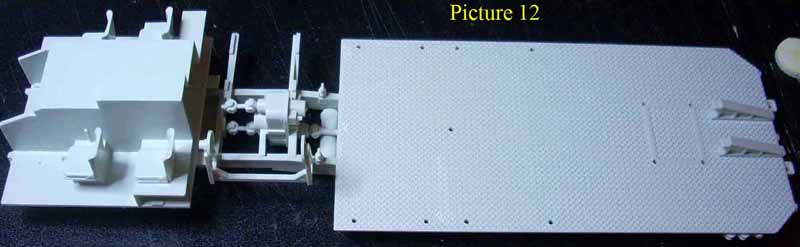
(pictures 6-8). Pictures 9 thru 13 show
progress made on the cab & tractor chassis.
The cab is void of any detail other than the steering wheel &
instrument panel. So I decided to
practice scratch-building. Picture 10
shows my novice attempt to add pedals & shift levers. The levers are sewing pins (the heads are too
big for 1/32 scale, but I like it). The
pedals are styrene sheet & rod. I
hand painted the cab (gimme a break, the first time in years I’ve put paint to
plastic). Do you see the pin mark on the
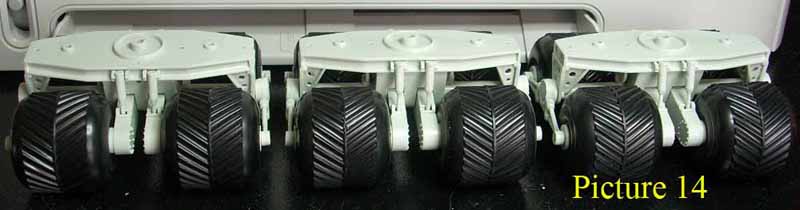
steering column & the cloudiness of the windows? Bonus, picture 14 just taken prior to this
posting showing the 3 complete “trucks”.
Stay tuned for Part 3 of the Mace WIP.