Review written by: Zbyszek Kowal, model builder.
History
In 1931 a Polish engineer Naleszkiewicz, inspired by works of Alexander Lippisch, designed a tailless experimental glider. The main goal of the design was to minimize a drag force of the plane. In the future the design could be used as a starting point for a twin engine plane. The glider was named “Zabus” (meaning sweet, little frog).
It was ready for test flights in 1932 and made few take offs with a rubber rope and few towed flights with a plane. It turned out that the handling of the glider was extremely difficult and required a very experienced pilot in the cockpit to control it.
During a test flight in the fall of 1932 the glider was damaged, wasn’t repaired afterwards, and the project was cancelled. It is a nice piece of aviation history.
The Kit
The Naleszkiewicz JN-1 kit is in 1/72nd scale made by a Czech company called Fly.
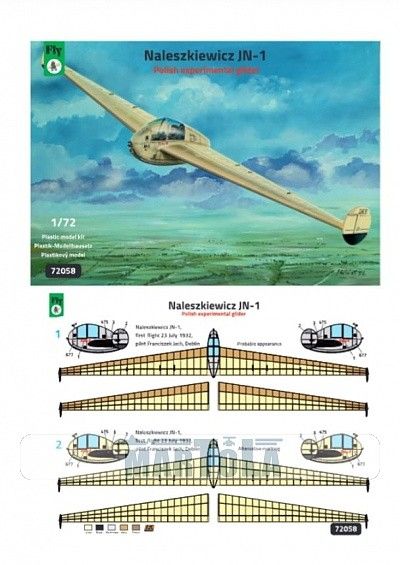
The box contains one sprue of grey plastic and one with transparent parts. There aren’t many details, but it seems to me that the model allows for a lot of detailing.
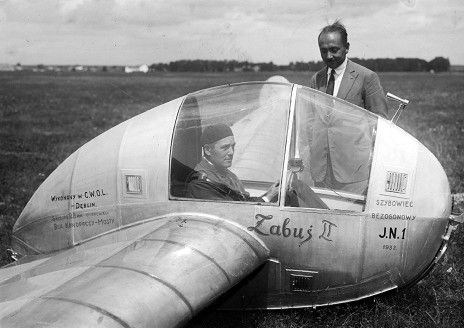
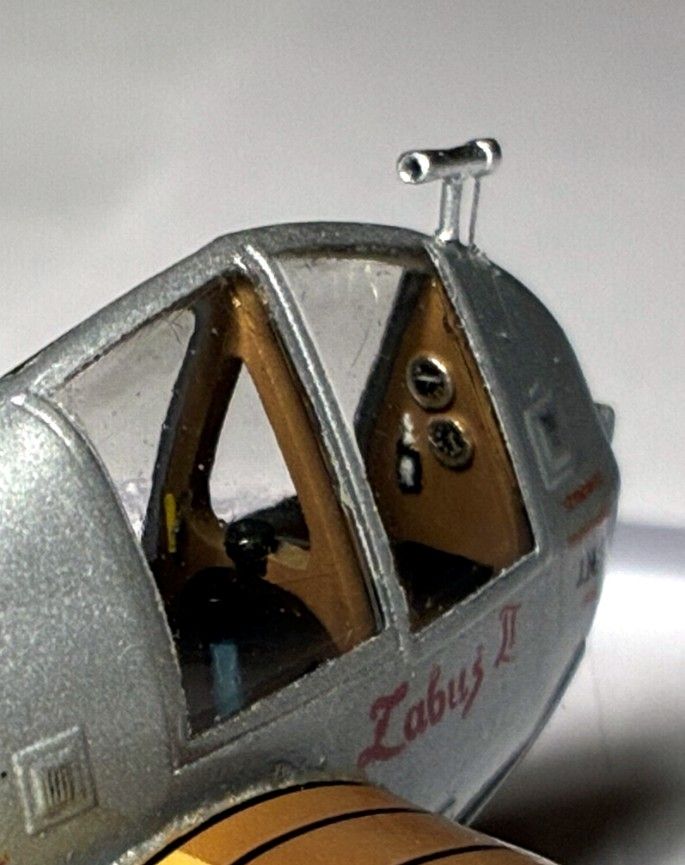
In the picture below you can see more details of the real glider:
Assembly
I have started the assembly by detailing the cockpit. In the glider the instrument panel consists of two, big and protruding gauges and a kind of tube (pitch indicator?). In the kit’s instrument panel, there were two small sink marks. To make it look more realistic, I have started with a very thin soldering wire, forming two small rings. The rings were glued to the instrument panel with a Tamiya CA (easy sanding) glue and flattened a little bit with pliers afterwards. It adds some reality to the gauges. After painting the panel with a basic wood color, I used two old decals for dials and filled in the dents with clear Bondic resin – please see the result below:
A small piece of soldering wire painted yellow makes a good imitation of towing lock release handle (most probably).
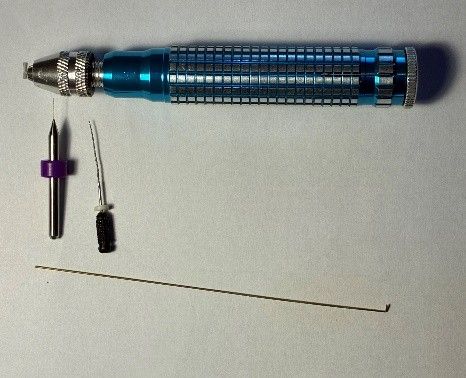
The next item that requires improvement is a Venturi tube. The original one in the sprue is a crude piece of plastic. First, I decided to open it by drilling it through and then replace a base, plastic rod with a thinner piece of tube from the Albion Alloys set of aluminium tubes.
A set of tools I used for the task can be seen in the picture below:
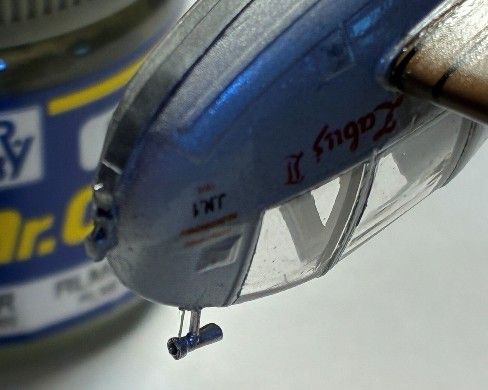
The next step was to add a towing lock and hook for rubber ropes for the take off – you can see it clearly in the next picture.
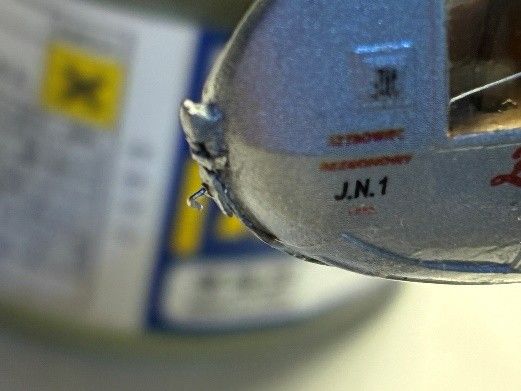
The kit’s imitation of the towing lock was a very basic one. It was too thick and required some sanding. When it seemed to be right, I added some plates made from flattened soldering wire and a small piece of very thin 0.06 mm) steel wire for a towing lock. The hook imitation was made from a soldering wire.
There was no undercarriage but instead, a kind of skid underneath the fuselage, most probably made from steel. I used a strip of plastic cut from a Tamiya plastic paper sheet and painted it with a stainless steel from MR Color.
Painting
I painted the model with GS, Tamiya, and Humbrol paints in the following configuration:
C043 Wood Brown (GS) wings, 74 Linen (Humbrol) fabric on wings, F16 flat aluminium (Tamiya) on fuselage, SM201 Super Metallic Fine Silver (Venturi tube), the final touch was made with two coats of GX112 (Super Clear III UV Cut Gloss) from GS.
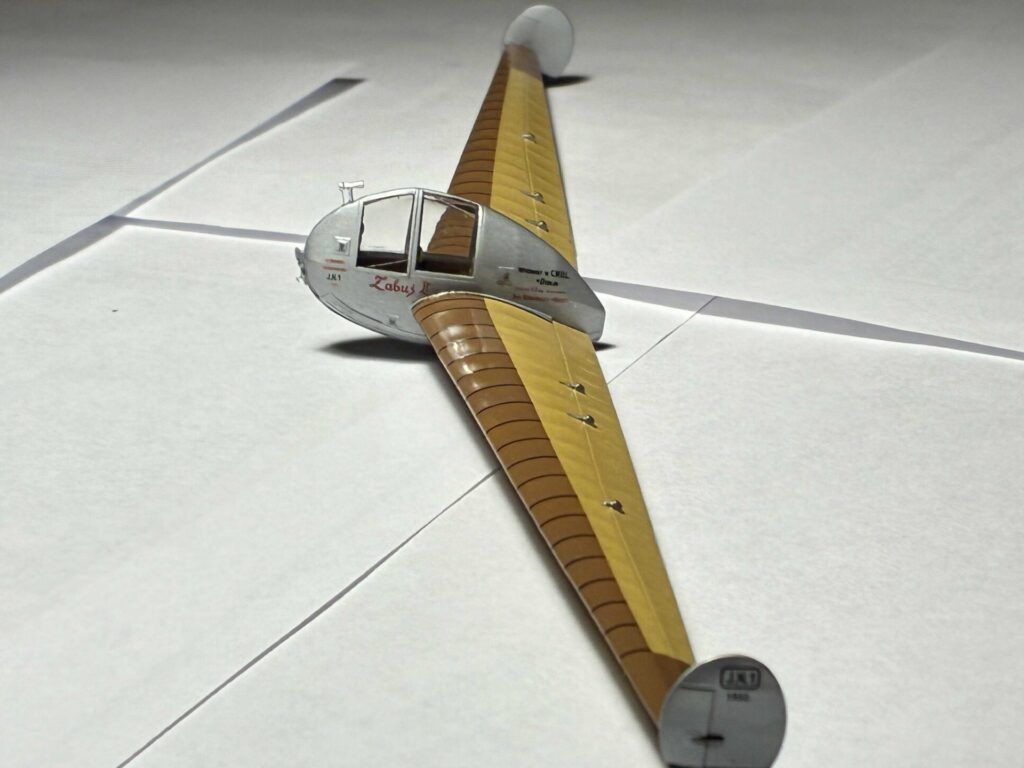
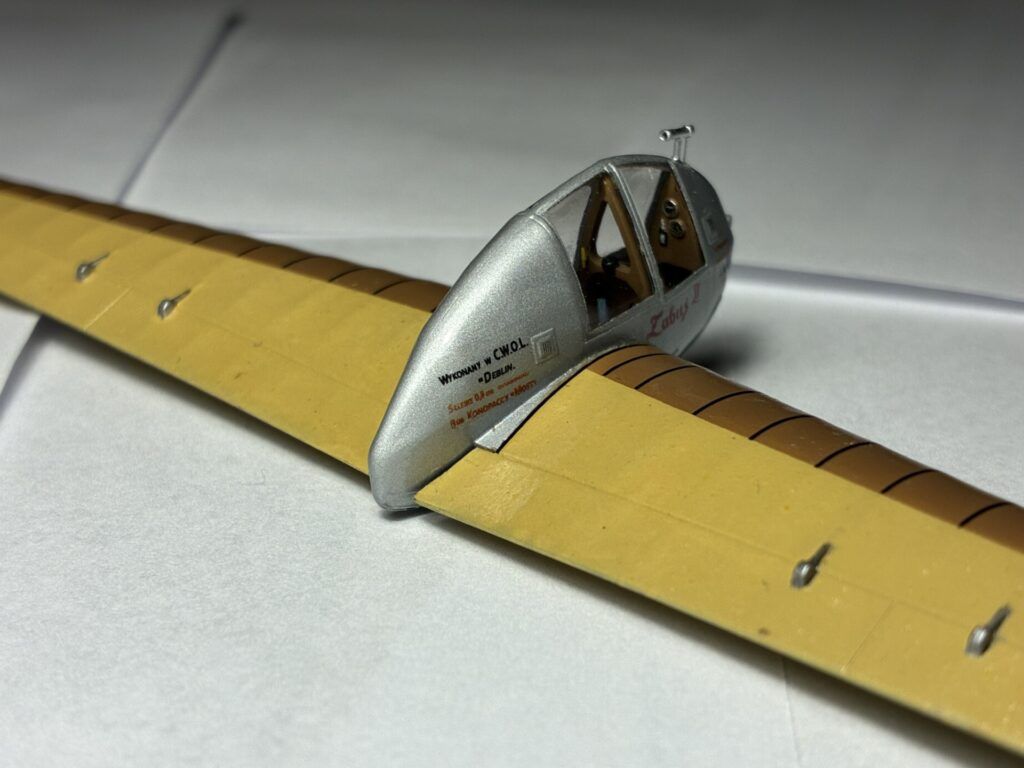
Finished Model
Here is the finished model: